When it comes to painting trim, you can buy paint that is specifically designed for this purpose. Trim paint typically has a glossier sheen and is designed to have a thicker consistency for smoother application
Choosing finish for your trim
When choosing the type of finish for your trim, you’ll want to consider the type of surface you’re painting and how it will stand up to wear and tear.
- High gloss: this shiny enamel finish can look really high-end, but it can also show off any flaws in the surface.
- If using high-gloss, you need to make sure your surface is perfectly smooth and the application must be perfectly smooth as well. If not done correctly, you’ll be able to see any brushmarks and any small flaws due to how the light reflects off the paint.
- Semi-gloss: this is the standard finish for trim and molding.
- It has an element of shine like high gloss, but the slightly more dull finish is better at hiding imperfections. It’s also quite durable and is easy to clean, which makes it great for high traffic areas
Prep trim prior to painting
Trim tends to be the type of surface that shows off many imperfections, by repairing any dents, nail holes, or cracks in your trim prior to painting will help with the look of the overall final product.
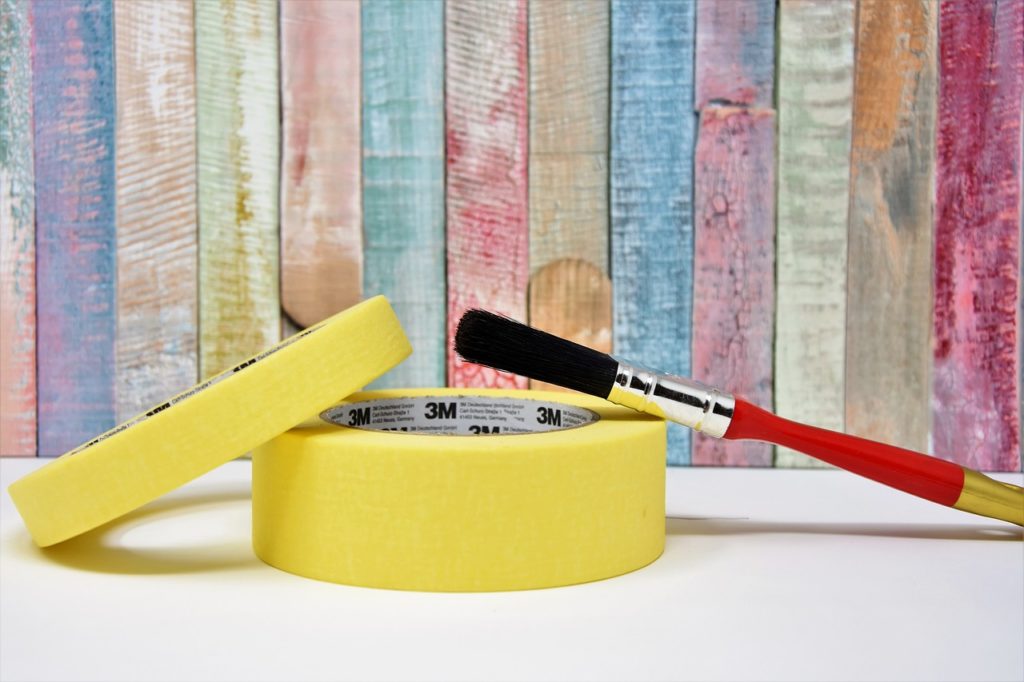
Doing a light sand to smooth out any rough areas will not only help with the look but also with the adhesion of the paint. We also recommend using green painter’s frog tape on the walls to make straighter lines easier and quicker.
Start painting
Apply paint to the trim using short, horizontal brush strokes. Repeat the process until a few feet of trim are covered in paint.
Smooth over the series of short brush strokes with one long brushstroke.
Do not add more paint to the brush — instead, drag the brush in one long motion over the freshly painted trim. Repeat if necessary, depending on the width of the trim, to create the appearance of long, smooth strokes.

