1 . Choose your color
Looking through color books or paint swatches can be very time consuming. Start by narrowing down to a general few color characteristics:
- Are you wanting a warm or a cool color?
- A neutral or bold color?
- What type of furniture/decor will you have in the room to compliment the items?
Once you have an idea of what you’re looking for, pick a few colors, and get samples. Test out the colors to see how they look in the room at different times of the day. The lighting throughout the day may make the color on the walls a different shade.

2. Tools and materials
- Quality paint
- Rolling pole
- Paint roller nap and roller frame
- Brush
- Ladder
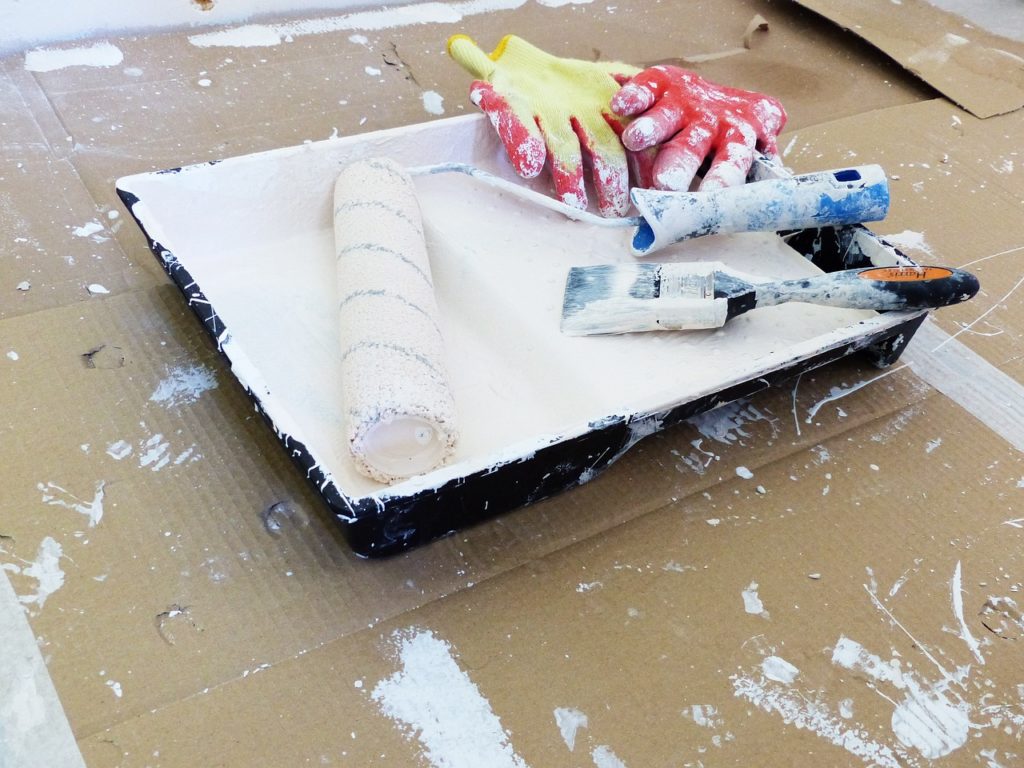
- Dropcloth and or plastic
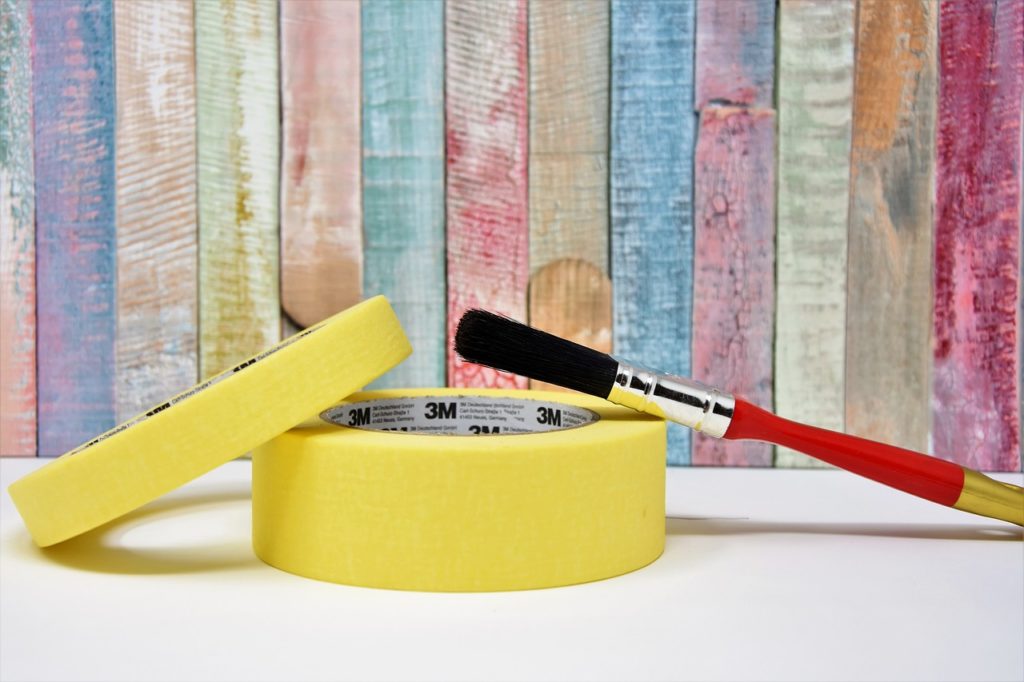
- Tape
- Rags
- Sanding pole/sanding paper
- Rolling pan/5g bucket
- Putty knife/spackle
- Screwdriver to remove faceplates

3. Prep the walls
An empty room would be ideal but not always possible. You can always push the furniture to the center of the room to make access to the walls easily accessible.
Putting a drop cloth or plastic over the items will prevent any paint or dust from getting on them. Taping the sides of door frames, windows, ceiling, and the base will help ensure a straight line.
We recommend using the green frog painter’s tape for this. Remove any faceplates of socket covers. Do a light sand over the walls to help adhesion and to remove any debris from the walls.

4. Painting
Make sure the paint is well mixed prior to use, if using multiple gallons of the same color, mix them together to ensure 1 consistent color.
Start by cutting in with a brush from the top (ceiling) to bottom (base) of the room.
When using a paint roller, use long strokes in a W pattern for ample coverage. Once the wall is dry to the touch, it’s ready for a second coat.
Allow the walls to dry at least for 48hrs before putting any items back up on the walls.


